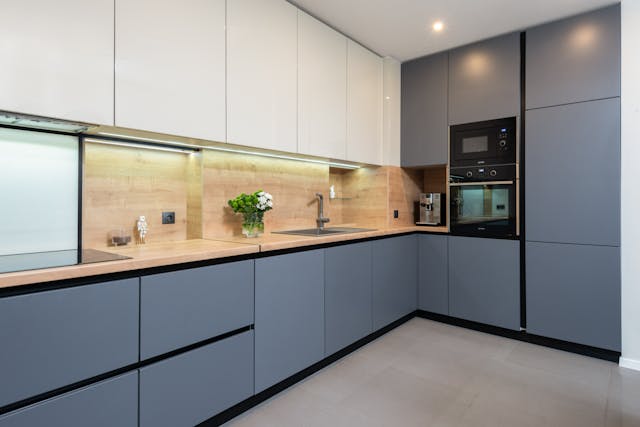
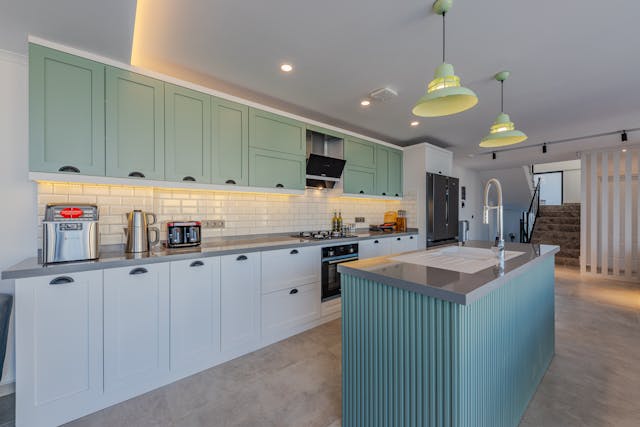
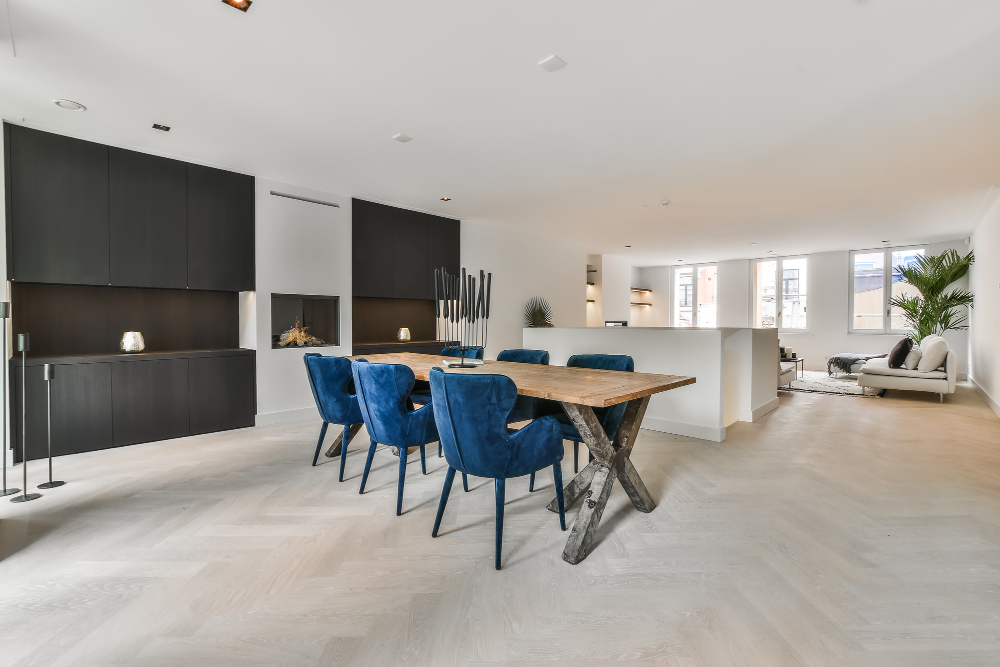
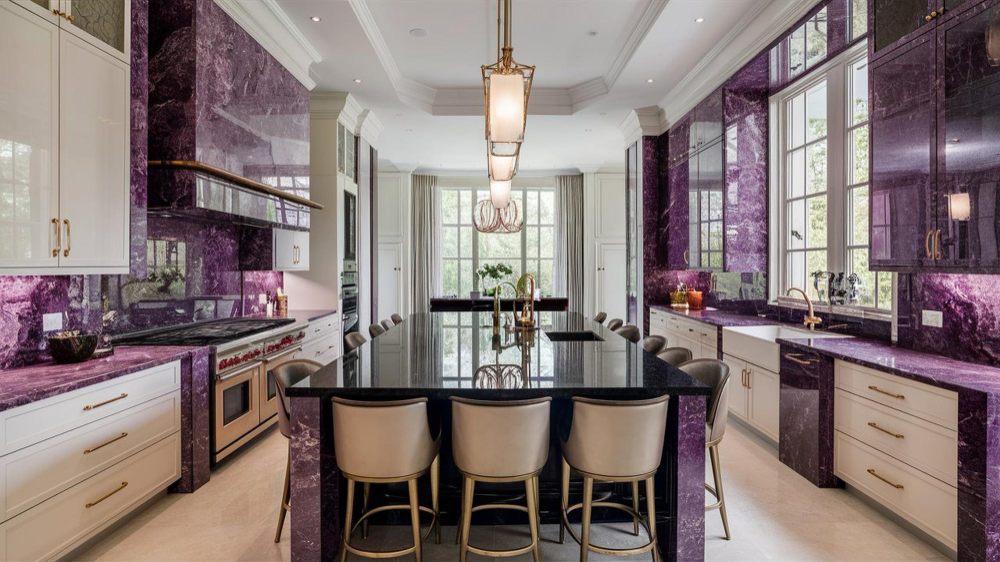
If you’ve ever dreamed of a kitchen, bathroom, or living space that’s perfectly tailored to your needs, custom cabinetry is the way to go. Unlike stock cabinets, custom-built cabinetry offers endless design possibilities, better functionality, and a high-end finish that fits your space perfectly.
But where do you start? How do you go from idea to installation without feeling overwhelmed? This step-by-step guide breaks down everything you need to know to design, build, and install custom cabinetry like a pro.
Step 1: Plan Your Custom Cabinetry Design
Before you start, you need a clear vision of what you want. Whether you’re upgrading a kitchen, bathroom, closet, or built-in storage, consider:
✔ The Purpose – Are these cabinets for storage, display, or a combination of both?
✔ The Layout – Where will they be installed? What size works best for your space?
✔ The Style – Modern, farmhouse, traditional, or minimalist?
✔ The Finish – Woodgrain, painted, matte, glossy?
✔ Hardware & Features – Hidden hinges, soft-close drawers, custom dividers?
💡 Pro Tip: If you’re unsure where to start, browse home design magazines, Pinterest, or showroom displays to gather inspiration.


Step 2: Choose the Right Materials for Durability & Aesthetics
The quality of your custom cabinetry depends on the materials you choose. Here’s a quick breakdown of the best options:
| Material | Pros | Cons |
|---|---|---|
| Solid Wood (Oak, Maple, Walnut, Cherry) | Durable, high-end look, long lifespan | Expensive, requires maintenance |
| Plywood | Strong, warp-resistant, great for custom work | Pricier than MDF |
| MDF (Medium-Density Fiberboard) | Smooth, great for painted cabinets, budget-friendly | Less durable than plywood |
| Laminate & Thermofoil | Scratch-resistant, easy to clean, affordable | Less customizable, may chip over time |
💡 Material Tip: If you want a luxury look without the cost of solid wood, plywood with a high-quality veneer orsupermatt finish is an excellent choice.
Step 3: Work with a Cabinet Maker or DIY?
Once you have a plan and materials in mind, the next decision is:
✔ Hire a custom cabinet maker – Ideal if you want professional quality, intricate designs, and a stress-free process.
✔ DIY your cabinetry – Best for those comfortable with woodworking, carpentry, and power tools.
💡 Pro Tip: Even if you plan to DIY, consult with a professional for precision cutting or tricky installations.
Step 4: Build Your Custom Cabinetry Like a Pro
If you’re working with a cabinet maker, this is where they’ll begin measuring, cutting, and assembling your custom cabinets. If you’re DIY-ing, here’s what you need to do:
✔ How to Build Custom Cabinets (DIY Edition)
1️⃣ Measure Your Space – Always measure twice, cut once to ensure a perfect fit.
2️⃣ Cut Plywood for the Cabinet Box – Use a table saw for straight, precise cuts.
3️⃣ Assemble the Cabinet Frame – Secure panels with wood glue and screws.
4️⃣ Install Shelves & Dividers – Adjust heights based on your storage needs.
5️⃣ Add the Cabinet Doors – Choose between slab, shaker, or raised panel designs.
6️⃣ Install Hinges & Drawer Glides – Use soft-close hardware for a high-end feel.
7️⃣ Sand & Finish – Apply paint, stain, or veneer for a polished look.
💡 Expert Tip: Use cabinet clamps to hold pieces in place while assembling for a professional finish.

Step 5: Install Your Custom Cabinets
Once your cabinets are built, it’s time to install them. Whether you’re hiring a pro or DIY-ing, follow these steps for a flawless installation:
✔ How to Install Custom Cabinets Step-by-Step
✔ Mark the Wall Studs – Secure cabinets to studs for stability.
✔ Start with Upper Cabinets – Install top cabinets first to make leveling easier.
✔ Use a Level & Shims – Ensure cabinets are perfectly aligned.
✔ Secure Base Cabinets – Screw them into the wall and each other.
✔ Attach Doors & Hardware – Install knobs, pulls, and final details.
💡 Pro Tip: Adding crown molding or toe kicks can make custom cabinets look even more seamless and high-end.
Step 6: Customize & Maximize Functionality
Now that your custom cabinetry is installed, it’s time to personalize it for maximum functionality.
✔ Install pull-out shelves & spice racks – Easy access to essentials.
✔ Use built-in drawer organizers – Keep utensils and tools neatly stored.
✔ Add under-cabinet lighting – Enhances visibility and creates ambiance.
✔ Integrate hidden trash & recycling bins – Keeps everything looking clean and modern.
💡 Storage Tip: If you have deep drawers, add dividers or sliding trays to keep items organized.
Step 7: Maintain & Care for Your Custom Cabinetry
To keep your cabinets looking brand new:
✔ Wipe spills immediately to prevent stains or water damage.
✔ Use a microfiber cloth with mild soap—avoid harsh chemicals.
✔ Polish wood cabinets every few months to maintain shine.
✔ Check hinges & hardware periodically for any needed adjustments.
💡 Maintenance Tip: If you have painted cabinetry, touch up any small chips with matching paint to keep them looking fresh.
Final Thoughts: Is Custom Cabinetry Right for You?
If you want a kitchen, bathroom, or storage solution that’s uniquely yours, custom cabinetry is the ultimate investment.
✔ Why Homeowners Love Custom Cabinetry:
✅ Tailored to fit your space perfectly.
✅ Made from high-quality, long-lasting materials.
✅ Endless customization options for storage and style.
✅ Increases home value and buyer appeal.
✅ Creates a one-of-a-kind, high-end look.
✨ Thinking about adding custom cabinetry to your home? Whether you hire a professional or DIY, this step-by-step guide ensures you get a space that’s beautiful, functional, and built to last!
📞 Contact us for a free consultation and start designing your dream cabinetry today!

