
If your kitchen feels outdated, cramped, or just not your style, changing your kitchen cabinets can completely transform the space—without the need for a full renovation. But where do you start? Whether you’re upgrading for functionality, style, or home value, swapping out your old cabinets can feel like a big project.
Don’t worry—I’ve got you covered! This step-by-step guide will walk you through everything you need to know about changing kitchen cabinets, from choosing the right style to installation tips and expert advice. Let’s get started!
Step 1: Decide on Your Cabinet Type (Replacement vs. Refacing vs. Refinishing)
Before you rip out your old cabinets, figure out what type of upgrade you actually need.
✔ Cabinet Replacement (Full Change-Out)
✅ Best for outdated, damaged, or poorly laid-out cabinets.
✅ Allows for a fresh design, better materials, and improved storage.
✅ Can be semi-custom, stock, or fully custom-built.
🔗 Explore Custom Kitchen Cabinets
✔ Cabinet Refacing (Keep the Structure, Change the Look)
✅ Perfect if your cabinets are structurally sound but need a facelift.
✅ Only replaces doors, drawer fronts, and veneer finishes.
✅ Saves 50% or more compared to a full replacement.
🔗 Why GENESIS Natural Stain Cabinets Are the Heart of Rustic Elegance
✔ Cabinet Refinishing (Budget-Friendly Refresh)
✅ Best for solid wood cabinets that just need new paint or stain.
✅ Keeps everything intact but updates the color or finish.
✅ DIY-friendly and very cost-effective.
💡 Pro Tip: If you’re happy with your kitchen layout, consider refacing or refinishing instead of a full replacement to save time and money.
Step 2: Choose Your New Cabinet Style & Finish
When it comes to kitchen cabinets, style matters just as much as functionality. Here are the most popular options:
✔ Cabinet Styles:
🏡 Shaker Cabinets – Classic, clean lines, fits any design.
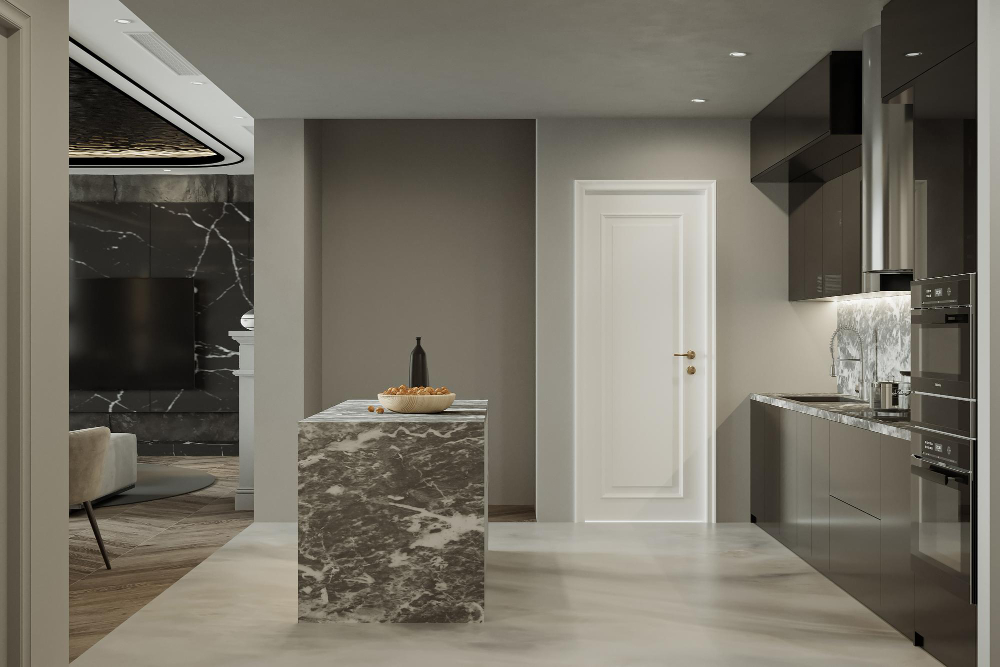
🎨 Flat-Panel Cabinets – Modern, sleek, handleless look.
🖤 Inset Cabinets – High-end, built-in furniture feel.
🌿 Glass-Front Cabinets – Elegant, perfect for display.
✔ Cabinet Finishes:
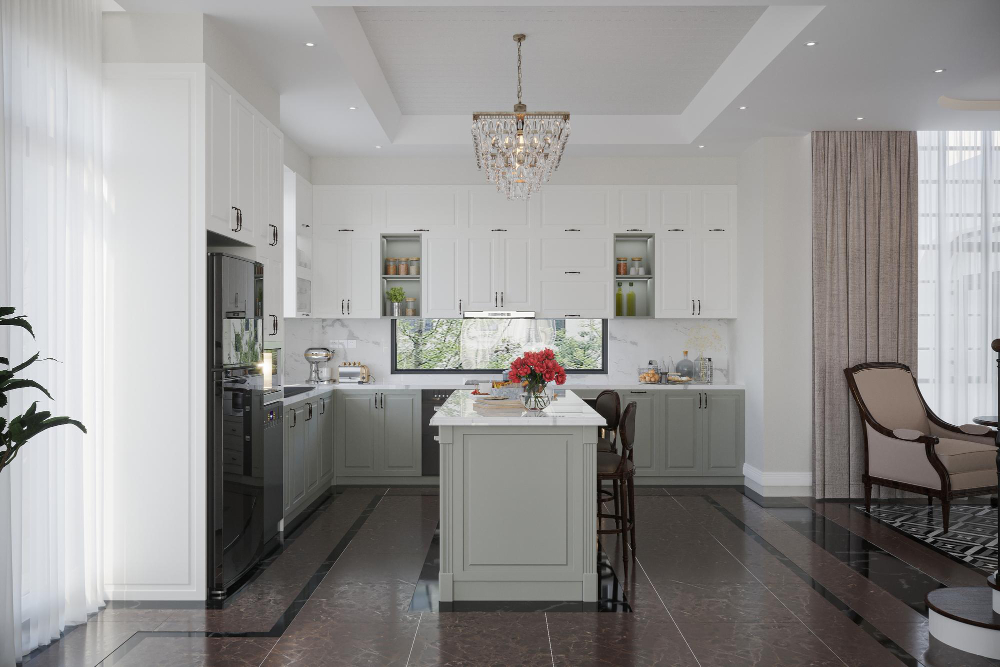
✨ Matte White – Bright, clean, and timeless.
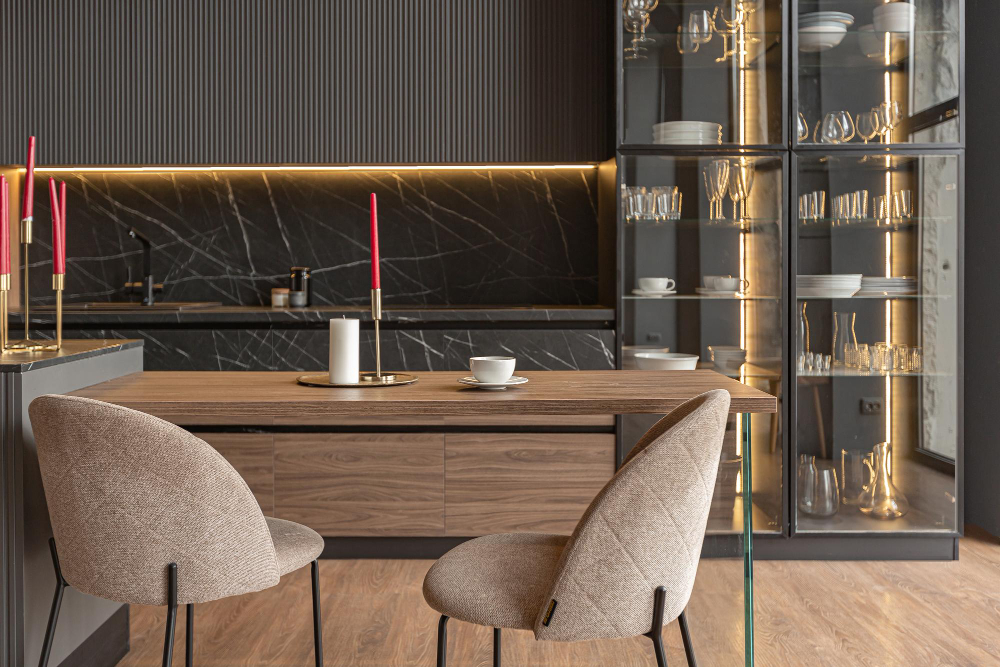
✨ Natural Woodgrain – Warm, organic, and cozy.
✨ High-Gloss Lacquer – Ultra-modern and reflective.
✨ Dark Stained Oak or Walnut – Rich, sophisticated aesthetic.
🔗 Transform Your Space: Easy Kitchen Cabinet Ideas You’ll Love!
💡 Design Tip: Want a modern touch? Try two-tone cabinets—light uppers, dark lowers for a stunning contrast!
Step 3: Measure Your Space Like a Pro
Before ordering new cabinets, you need precise measurements to ensure a perfect fit.
✔ How to Measure Your Kitchen Cabinets:
📏 Step 1: Measure the width, height, and depth of your existing cabinets.
📏 Step 2: Mark where appliances, outlets, and plumbing are located.
📏 Step 3: Note any structural obstacles (windows, doorways, vents).
📏 Step 4: Measure corner cabinets carefully—these can be tricky.
💡 Pro Tip: If you’re unsure about measurements, have a professional confirm them before ordering custom cabinetry.
Step 4: Removing Your Old Cabinets (Without Damage!)
Once you have your new cabinets ready to install, it’s time to safely remove the old ones.
✔ Steps to Remove Kitchen Cabinets:
🔧 Step 1: Turn off power & water to avoid electrical or plumbing damage.
🔧 Step 2: Remove cabinet doors, drawers, and hardware.
🔧 Step 3: Unscrew cabinets from the wall (start with upper cabinets).
🔧 Step 4: Carefully pry off the cabinet boxes and remove them.
💡 DIY Tip: If your old cabinets are still in good condition, consider donating them instead of tossing them!
Step 5: Installing New Cabinets for a Fresh Look
Whether you’re installing custom cabinets, semi-custom, or stock options, proper installation is key to a professional finish.
✔ Steps for Installing Kitchen Cabinets:
🔩 Step 1: Mark the wall where each cabinet will go (use a level!).
🔩 Step 2: Install upper cabinets first, securing them to wall studs.
🔩 Step 3: Align and install base cabinets, ensuring they’re level.
🔩 Step 4: Attach doors, drawers, and hardware for the finishing touch.
🔗 The Journey to Finding the Perfect Kitchen Cabinet Installers
💡 Installation Tip: Always start in a corner and work your way out to keep everything aligned.
Step 6: Add the Finishing Touches for a Designer Look
Now that your cabinets are in, it’s time to elevate your kitchen’s design with a few final touches.
✔ Must-Have Upgrades:
✔ Under-Cabinet Lighting – Adds depth & ambiance.
✔ Soft-Close Hinges & Drawers – A luxury touch with everyday benefits.
✔ Custom Hardware – Gold, black, or brass handles can totally transform the look.
✔ Crown Molding or Trim – Creates a custom, high-end finish.
🔗 Supermatt Finish: The Perfect Upgrade for Modern Kitchens
💡 Style Tip: If you want to maximize storage, consider adding extra pull-out shelves and hidden organizers.
Final Thoughts: Is Changing Your Kitchen Cabinets Worth It?
Absolutely! Whether you choose full cabinet replacement, refacing, or refinishing, updating your cabinets instantly modernizes your kitchen and increases home value.
✔ Why Upgrading Your Cabinets is a Smart Move:
✅ Transforms your space with a fresh, updated look.
✅ Improves storage & organization for better functionality.
✅ Adds long-term value to your home.
✅ Lets you personalize the style & finish to fit your taste.
✨ Ready to upgrade your kitchen? Follow this step-by-step guide and create the dream space you’ve always wanted! 🚀